My husband and I have been watching a lot of movies and DVDs over this past weekend - due to our internet being out. It's working again for the time being; just decides to take a break every now and then. *eye roll*
Anyways, watching all of those movies inspired this manicure! I think it would also be great if you are going a fair or carnival.
You can paint all of your nails with this design, or like I did here - just painting it on your thumb and ring finger as "accent nails."
 What you'll need:
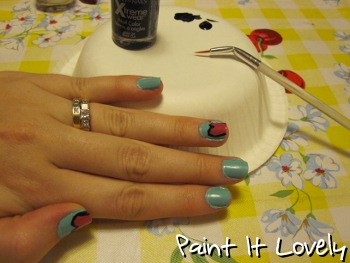
You'll need to decide if you want the popcorn design on all of your nails, or just as an accent. If you want the design on all of your nails, paint all of your nails white. (Depending on your polish this may take two coats to be opaque.) If you are going to have the design as an accent, paint your ring fingers and thumbs white. Next, paint the other three fingers on each hand red. Like so.
 Now you are going to need that striper, or thin brush, to paint vertical stripes on your white polished nails. Personally, this is the hardest part for me...especially on my right hang. Take your time and steady your painting hand on the table.
 Once your stripes have dried it is time to put some popcorn on those nails. First, take your light yellow polish and use your dotting tool to put groups of three or four dots together. This is going to be the puffy part of the popcorn.
 When those have dried use that dotting tool again to put a couple darker yellow dots in each popcorn piece. If you put them on different sides of the light yellow groups it looks like the popcorn is facing different directions.
 Let that dry for a little bit, then use that clear polish to paint on a top coat. I prefer to use a fast-drying top coat with designs that are thicker - you'll notice that the popcorn dots are raised a little. I use Sally Hansen's Insta-Dri top coat, but Seche Vite is a very popular one...I like Sally Hansen's prices better. :)

I hope you enjoyed this one! It was a lot of fun to do.
read more
Anyways, watching all of those movies inspired this manicure! I think it would also be great if you are going a fair or carnival.
You can paint all of your nails with this design, or like I did here - just painting it on your thumb and ring finger as "accent nails."

- clear polish (for your base and top coats)
- white polish
- red polish
- light yellow polish
- darker yellow polish
- dotting tool (a toothpick works well too)
- thin brush or striper
- Finger Paints "Paper Mache" (white)
- CQ "Rouge"
- Sinful Colors "Unicorn"
- Sally Hansen Insta-Dri "Lightening"


I hope you enjoyed this one! It was a lot of fun to do.