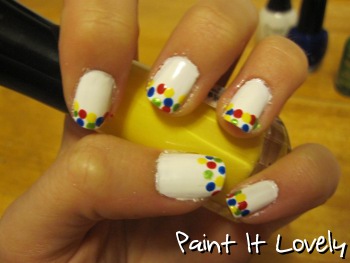
Here's another design that a friend posted on my wall. This is a good one for anyone that has wanted to try water marbling, but doesn't want the hassle of taping your fingers and swirling polish on the water's surface.
I didn't take a picture of my supplies because you can use just about any polish colors that you'd like.
What you'll need:
Before you start painting your nails I suggest getting your saran wrap ready. You will need a small, scrunched up piece for each nail. It's best to do this first because the saran wrap will lift any wet polish off of your nails.

Start off by painting your nails with your clear polish.
Now, decide which color is going to be the base color. I chose to use Sally Hansen's "Blue Me Away!" as the base color. Paint all of your nails with your first color and allow them to dry completely.

The next part has to be done one nail at a time. You're going to paint your second color over the first one. I used Sally Hansen's "Lightening". You need to work quick here. Right after you paint a nail, take a piece of your pre-cut saran wrap and blot your nail just a couple of times.
I know that it looks strange and not so great here...but it gets better. (This is the second time I've tried this design - I was less than pleased with the first attempt a few weeks ago.) Repeat the process of painting and blotting for each of your nails. Let that second color dry for a little bit, then paint on your clear top coat.
Voila! Marbled nails sans water.
 This is a little bit messy to do. I used a few Q-Tips and acetone to clean up around each of my nails.
read more
 |
| This picture is not mine...I'm not sure who to credit it to. |
I didn't take a picture of my supplies because you can use just about any polish colors that you'd like.
What you'll need:
- clear polish
- two contrasting colored polishes
- saran wrap a.k.a. cling wrap
- scissors
- paper towel
Before you start painting your nails I suggest getting your saran wrap ready. You will need a small, scrunched up piece for each nail. It's best to do this first because the saran wrap will lift any wet polish off of your nails.

Start off by painting your nails with your clear polish.
Now, decide which color is going to be the base color. I chose to use Sally Hansen's "Blue Me Away!" as the base color. Paint all of your nails with your first color and allow them to dry completely.
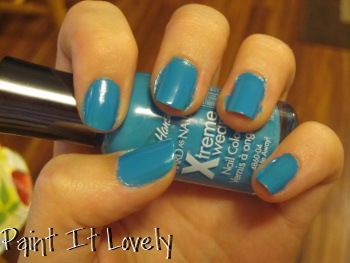
The next part has to be done one nail at a time. You're going to paint your second color over the first one. I used Sally Hansen's "Lightening". You need to work quick here. Right after you paint a nail, take a piece of your pre-cut saran wrap and blot your nail just a couple of times.
 |
| Pre-blotting |
 |
| Post-blotting |
Voila! Marbled nails sans water.