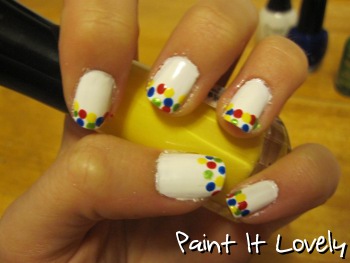
Earlier this week I was watching That 70's Show (love that show!) on NetFlix; in the episode I was watching Leo mentioned the game Twister. I thought this would be a fun twist on a french tip manicure, or it would look cute as a full nail design. The nice thing about it is that it's soooo easy!
For this design you are going to need:
- clear coat (for the base and top coats)
- white polish
- red polish
- blue polish
- yellow polish
- green polish
- toothpicks (one for each color if possible) or a dotting tool
- a palette (paper plate, piece of paper, etc.)
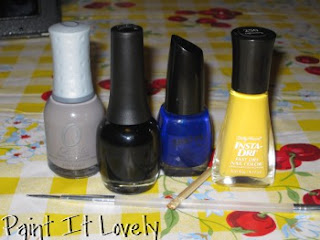
The polishes I used were:
- Finger Paints "Paper Mache"
- Santee "Neon Sapphire"
- Wet n' Wild "Sage in the City"
- CQ "Rouge"
- Sally Hansen Insta-Dri "Lightening"
First things first - paint on that clear base coat. This will help protect your nails from staining.
Next, paint all of your nails white. Depending on your polish it may take more than one coat. I did two so that the polish was opaque (not see through).
The toothpicks I used are pointy on one end and blunt on the other. The blunt end makes a perfect dotting tool. If your toothpicks aren't make like this here is a secret. Dip the tip of the toothpick in a polish, then let it dry. Do this a couple of times until you get a bead of polish built up to the size you would like your dots to be.
I decided to do only a couple dots at a time of each color - that way
the dots looked more random and layered. However, you could do all the
blue dots at once, then the red, and so on. Also, I only did the tips of my nails. It was cute, but feel free to get creative!
Use your scrap paper or paper plate as a palette for your nail polish. I would only put a little bit on of each color at a time. That way it doesn't dry out and a bunch of polish goes to waste. Like I said before, I alternated colors. The following pictures show how the look progressed. You can use any order of colors though.
That's it! It's simple, and it's quick! Paint on your top coat and you're good to go!

 It's really simple and quick! Here's what you'll need: