I got a lot of compliments over the weekend on this design. It looks really complex, but if you have ever braided someone's hair this will all seem pretty familiar.
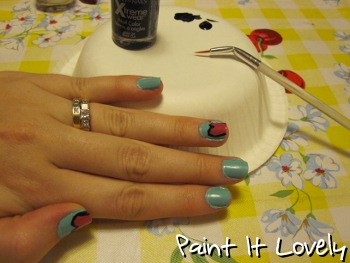
For this design you are going to need three different colors and a clear coat, for your base and top coats. You don't need any special tools to achieve this look; however, you can use a toothpick to get any nail polish off of your skin around your nails.
From what I've heard in other tutorials for this design: you get the best results if you use one metallic, one pearlescent, and one neon color. You want the colors to be somewhat different, but they shouldn't clash.
I chose to use Nina Ultra Pro "Smoke-N-Mirrors" for my metallic, base coat. I also used Sally Hansen's HD "Resolution" and Finger Paints "Pop Art Purple." The purple color turned out much darker in the pictures and design - believe me this is a bright purple.
 Start off by painting on your clear base coat.
Next, paint all of your nails with your metallic color. Depending on your polish you may need two coats. The polish should be opaque on your nails - you shouldn't be able to see your nail through it. I needed two coats of the "Smoke-N-Mirrors" color.
 Here comes the fun part. Like I said earlier, it is just like braiding hair...at least the same pattern.
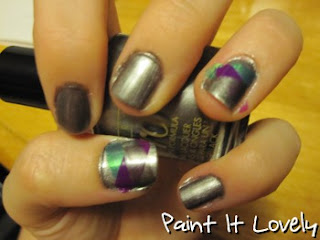
I chose to use the green "Resolution" color next. Make sure to get the excess polish off of the brush. Using the polish brush swipe a diagonal stripe across your nail, leave just a little bit of the metallic color showing at the top.
 I chose to have them going the same direction on each hand so that every nail had a uniform look. Now you're going to take your next color, in my case "Pop Art Purple", and paint a diagonal stripe going the opposite direction.
Try to line the top of this stripe up with the bottom of the previous one. You'll do this for each stripe.
 Now you'll use the metallic color and make a diagonal going in the opposite direction. Remember, it is like you are braiding.
 You'll continue the pattern, rotating through the polishes in the same order.

 Personally, I think it looks best with three stripes coming from each direction. The above picture is missing the final silver stripe.
I really like how this design turned out, and plan on trying it out with different color combos. Finish it off with your top coat and you're finished!
read more
For this design you are going to need three different colors and a clear coat, for your base and top coats. You don't need any special tools to achieve this look; however, you can use a toothpick to get any nail polish off of your skin around your nails.
From what I've heard in other tutorials for this design: you get the best results if you use one metallic, one pearlescent, and one neon color. You want the colors to be somewhat different, but they shouldn't clash.
I chose to use Nina Ultra Pro "Smoke-N-Mirrors" for my metallic, base coat. I also used Sally Hansen's HD "Resolution" and Finger Paints "Pop Art Purple." The purple color turned out much darker in the pictures and design - believe me this is a bright purple.

Next, paint all of your nails with your metallic color. Depending on your polish you may need two coats. The polish should be opaque on your nails - you shouldn't be able to see your nail through it. I needed two coats of the "Smoke-N-Mirrors" color.

I chose to use the green "Resolution" color next. Make sure to get the excess polish off of the brush. Using the polish brush swipe a diagonal stripe across your nail, leave just a little bit of the metallic color showing at the top.

Try to line the top of this stripe up with the bottom of the previous one. You'll do this for each stripe.


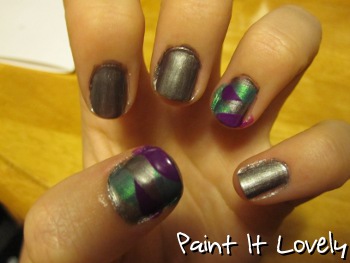
I really like how this design turned out, and plan on trying it out with different color combos. Finish it off with your top coat and you're finished!