
You will want to decide on two nail polish colors: one for the background and one for the hearts. I chose to use Wet-n-Wild's "I Need a Refresh-Mint" for the background color, and L.A. Colors BCC574 for the hearts.

- clear base/top coat
- black polish
- white polish
- thin brush (a toothpick will also work)
- scrap paper, paper plate, or other similar object
Now, let's get down to business!
As always, paint on your clear base coat.
Next, paint on your background polish color.


The way that I painted the hearts on was to have a little extra polish on the brush and do a very rounded "V" shape that hung off the end of my nails. Here is a better view:

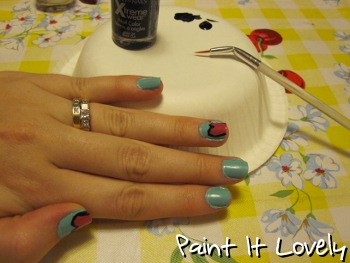
Dip your thin brush, or even a toothpick will work, into the black polish on your palette. Now, use the black polish to outline each of the hearts on your nails.

Now, to give your hearts a more cartoon-y look we are going to paint little highlights on them. Think of cartoon balloons - they usually have two white dots in top right/left to show where the light is hitting. Same idea here.

No comments:
Post a Comment